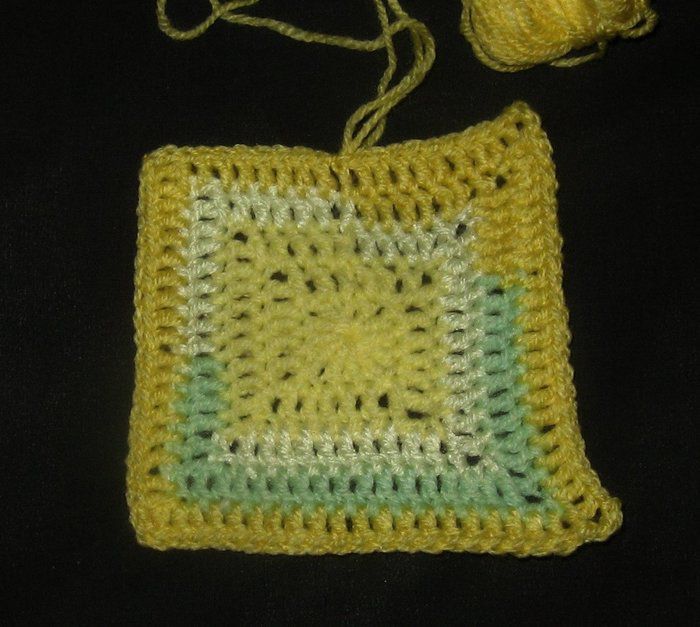
Cog flower square & variations
All rights reserved. UK terms used throughout - tr = US dc, dc = US sc, etc. Written more as a recipe than a strict pattern.
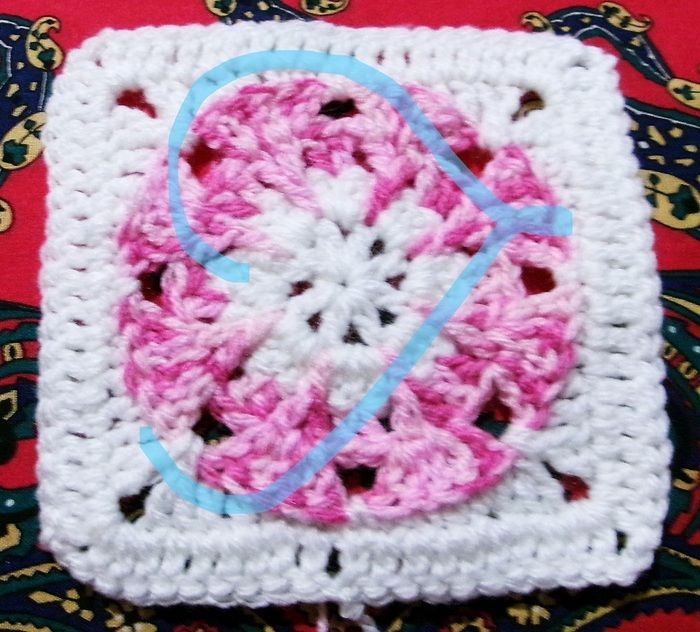
- Using a magic circle or other method to create a closed hole, make (tr, ch) 8 times in a ring and all rounds end by sl st to starting ch/standing st.
- Can be worked either on right or wrong side which gives more texture – sl st to ch sp if necessary, work 3 tr into each ch sp = 24 sts. Break off.
- In new colour, work (2 tr) into the centre tr of a group of 3 tr, (1 dtr into the top of the treble from round 1 that was skipped in round 2, then work a tr into the bottom of the dtr) to make the pointy end of the “petals”. Repeat to end. Turn work If desired for more texture as pictured.
- Slip st if necessary to work into the dtrs & trs worked into them - *work (2trs) in the first to present, 1 tr into the sp between the dtr & tr worked into it, (2tr) into the...